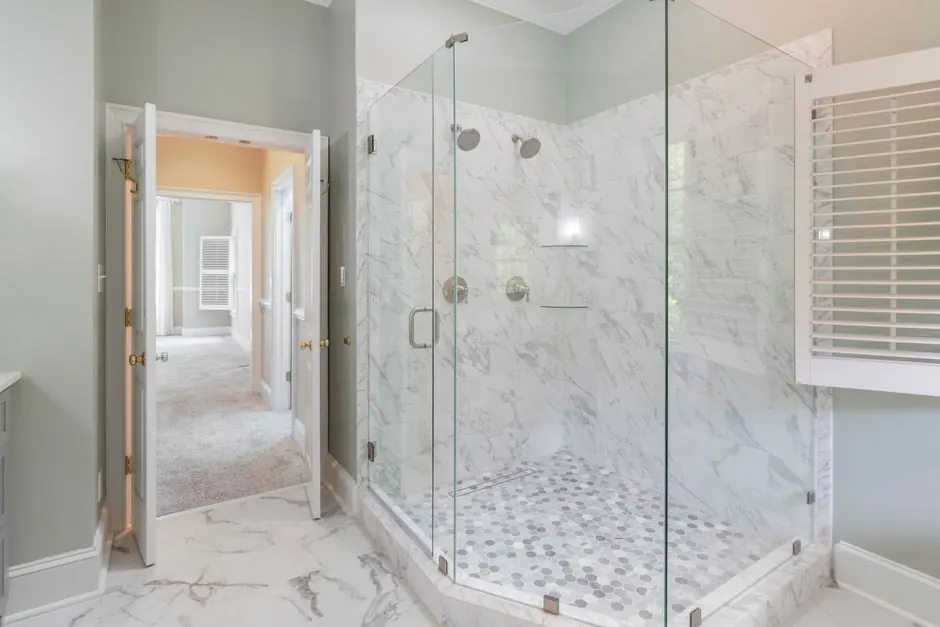
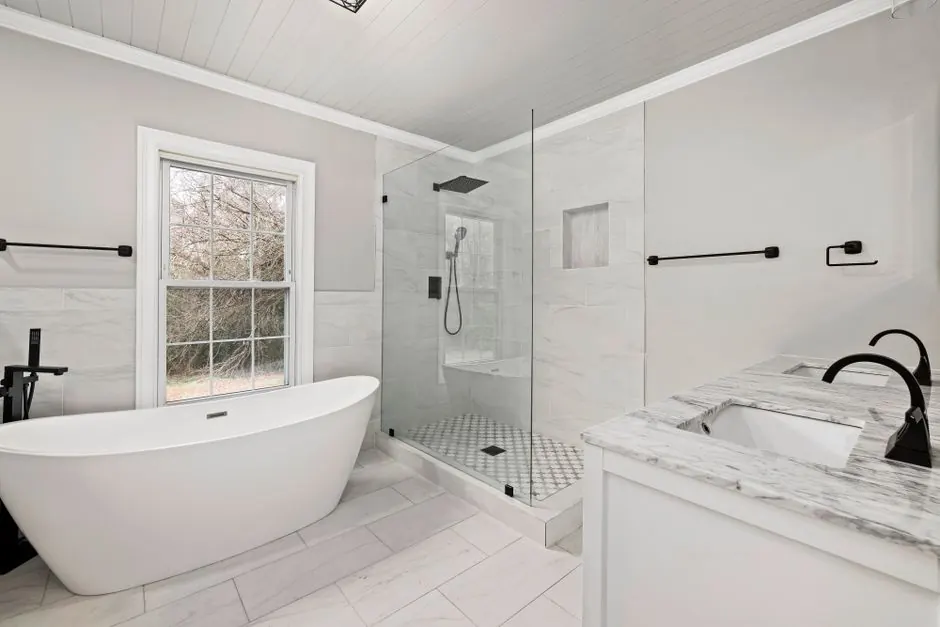
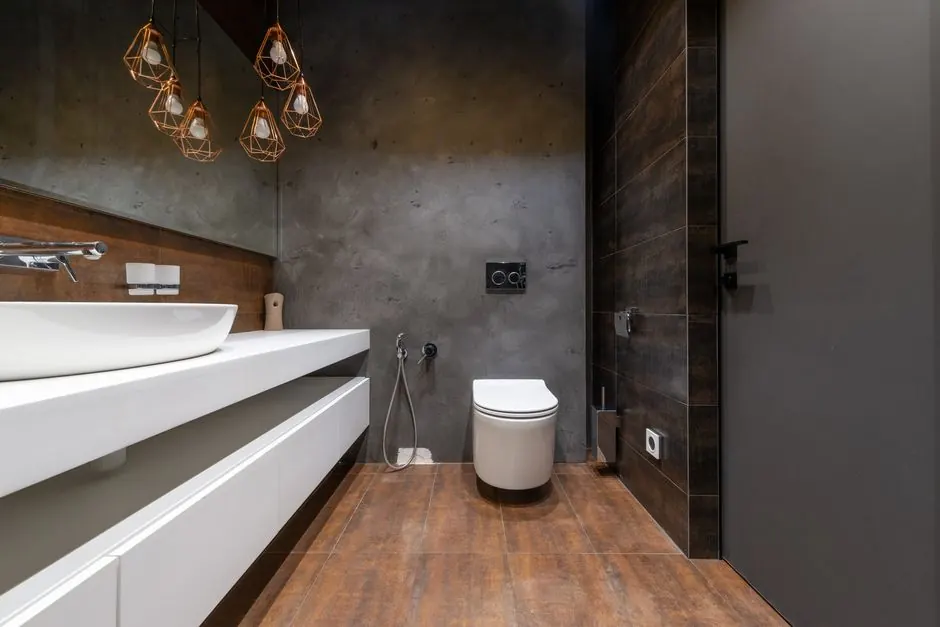
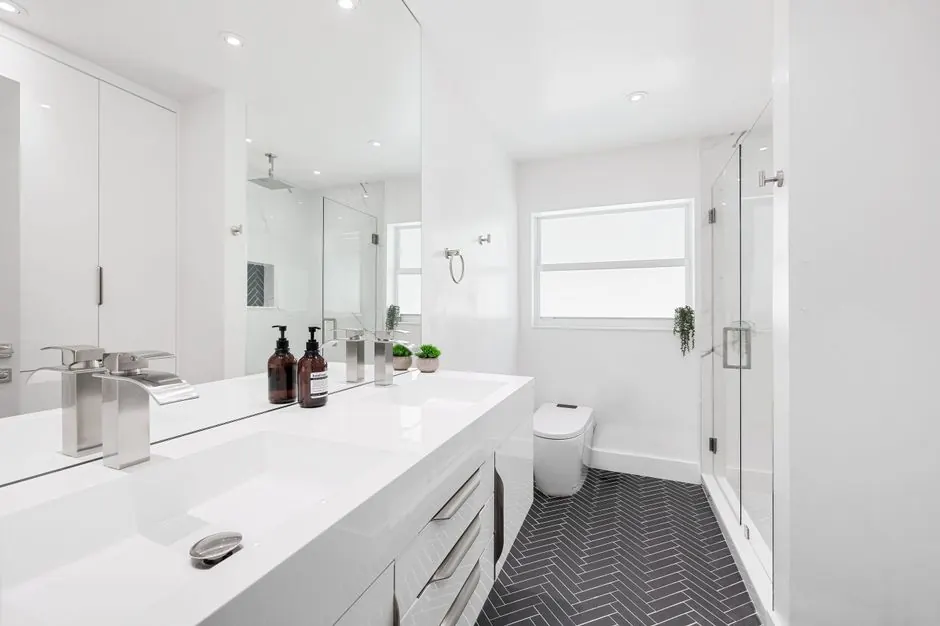
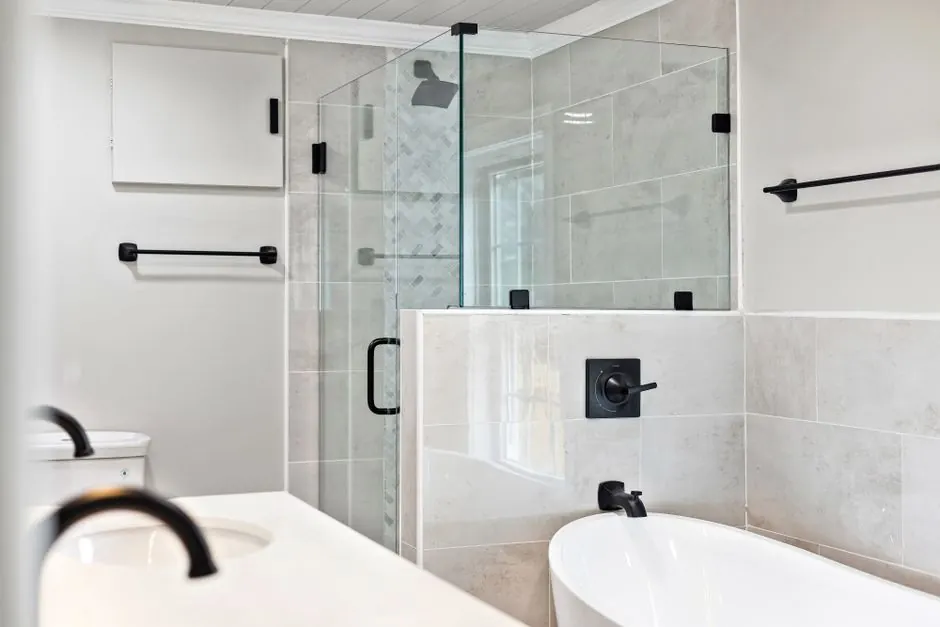
Trade the tub for a walk-in shower you'll actually use.

Tub-to-Shower Conversion Scottsdale AZ

Tub-to-Shower Conversion Scottsdale AZ is what we do every week for homeowners in 85251, 85258, and 85259. If your garden tub collects dust and hard water stains, we tear it out and build a code-correct walk-in shower with waterproofing membrane, porcelain tile, and a shower valve that holds temperature. Most jobs finish in three to five days, and we handle the permit, the plumbing, and the tile ourselves.

Bathroom Renovation for Scottsdale homes
Careful work. Honest options.
About this service

What Tub-to-Shower Conversion Scottsdale AZ Really Involves

Tub-to-Shower Conversion Scottsdale AZ is the process of removing an existing bathtub and rebuilding that footprint as a walk-in shower. We cut the tub out, cap or reroute the drain, install a sloped shower pan, hang cement backer board, roll on a waterproofing membrane, and set porcelain or ceramic tile with a notched trowel. The shower valve gets swapped, the walls get moisture-resistant paint, and the glass goes in last. It is not a liner dropped over old drywall.

Most Scottsdale homes built between the 1980s and early 2000s have a standard 60-inch tub alcove that converts cleanly. Hard water stains, failing caulk lines, and grout deterioration are the three complaints we hear most. If you are searching for a bathtub to shower conversion Scottsdale contractor, ask what they do behind the tile. We follow TCNA guidelines and ANSI A118 tile installation standards because Maricopa County inspectors check waterproofing depth and drain slope.

  • ✓ Easier to Clean
  • ✓ Safer to Step Into
  • ✓ Reclaims Real Space
  • ✓ Raises Resale Value
What's included

What Our Tub-to-Shower Conversion Includes

Every conversion we run includes the demolition, the rough plumbing, the waterproofing, the tile, and the cleanup. Glass and high-end finishes are quoted separately because the options vary so much. Here is what you are actually paying for.

01
✓

Tub Removal and Haul-Away

We cut the tub out, protect the flooring and doorways, and haul the old unit away. We also inspect the framing and subfloor for water damage under flooring while the alcove is open, and we show you what we find before we close it back up.

02
✓

Drain and Valve Rough-In

The drain gets relocated or capped and the shower valve gets set at the right height for your trim. We pressure-test the PEX or copper lines and confirm the drain slope before the pan goes in, so you never get a shower pan leak.

03
✓

Waterproofing and Pan Build

Pre-sloped pan, cement backer board, mesh-taped seams, and a rolled waterproofing membrane. We flood-test the pan and photograph it before tile. This is the step that separates a shower that lasts from one that fails in three years.

04
✓

Tile, Grout, and Caulk

Porcelain or ceramic tile set with a notched trowel and laser level, cut with a wet saw, and grouted with epoxy grout. We finish every plane change with silicone caulk, not grout, because grout cracks at corners and caulk does not.

05
✓

Final Test and Walkthrough

We run the shower, check for leaks at the valve and drain, test the GFCI outlet, and confirm the exhaust fan pulls air. Then we walk the room with you, hand over the warranty, and leave you a short maintenance sheet.

How it works

How Our Conversion Process Runs

We measure the alcove, check the drain location with a plumber's snake, and test the shower valve. You get a written scope and a fixed price the same visit. Most walkthroughs take 45 minutes, and we look at the exhaust fan and GFCI outlet while we are in there.

Day one is tear-out. We pull the tub, cut back the drywall, and inspect the framing for water damage under flooring. If the subfloor is soft, we replace it before anything else goes in. PEX piping or copper piping gets rerouted to the new valve height.

We set the shower pan with a pre-slope, then hang cement backer board and roll on waterproofing membrane. Seams get mesh tape and thinset. This is the step nobody sees and the one that decides whether you have a shower pan leak in year three.

Porcelain tile goes up with a notched trowel and laser level for consistent grout lines. We cut around the niche and valve with a wet saw, then grout with epoxy grout. Your Kohler, Moen, or Delta trim kit installs the same day.

Shower glass goes in once the tile cures, usually day four or five. We run a bead of silicone caulk at every plane change, test the drain, and haul away every scrap. You walk into a finished shower with a warranty and a maintenance sheet.

Tub-to-Shower Conversion
STEP 01On-Site Walkthrough

We measure the alcove, check the drain location with a plumber's snake, and test the shower valve. You get a written scope and a fixed price the same visit. Most walkthroughs take 45 minutes, and we look at the exhaust fan and GFCI outlet while we are in there.

Tools & methods

Tools and Methods We Use

01
✓

Wet saw and tile saw

Cuts porcelain and natural stone cleanly around the niche, valve, and corners. A chipped cut at eye level ruins an otherwise good shower, so we do not rush this.

02
✓

Notched trowel and grout float

Controls thinset coverage and packs grout into the joints evenly. Proper trowel size is what keeps tile from popping loose after a few seasons of temperature swings.

03
✓

Moisture meter

Reads water content in drywall and framing before we close walls. If the reading is high, we stop and fix the source instead of tiling over a problem.

04
✓

Laser level

Keeps the pan, the first tile course, and the glass panel plumb. A shower that is out of level by a quarter inch shows up as a crooked door and a puddle at one end.

05
✓

Oscillating multi-tool and pipe wrench

Cuts back drywall and old caulk cleanly, and lets us break the tub drain connection without damaging the trap arm. Faster and cleaner than a hammer on finished walls.

06
✓

Caulking gun

Applies silicone caulk at every plane change. We use it last, after tile cures, so the bead stays flexible instead of cracking as the framing moves.

Real results

Before and after.

Garden Tub to Curbless Walk-In
Tub-to-Shower Conversion

Garden Tub to Curbless Walk-In

A 1990s master bath in 85258 with a garden tub nobody used, cracked caulk at the deck, and a 32-inch shower stall that felt like a phone booth. The tub surround had early mold and mildew in the grout.

After: We removed the tub and built a 60-inch curbless walk-in with porcelain tile, a quartz bench, a niche, and frameless glass. The old stall came out and the room gained usable floor space. Total build time was five days.

Book this service →
Cast Iron Tub Swap in Old Town
Tub-to-Shower Conversion

Cast Iron Tub Swap in Old Town

A 1970s ranch home in 85251 with a cast iron tub on a cracked trap arm and galvanized supply lines that had started to weep. The subfloor under the tub was soft from a slow leak.

After: We cut out the tub, replaced the trap arm and the soft subfloor, rerouted supply lines in PEX, and built a low-curb shower with grab bar blocking. The job ran six days because of the plumbing repairs.

Book this service →
Guest Bath Safety Conversion
Tub-to-Shower Conversion

Guest Bath Safety Conversion

A Fountain Hills guest bath with a standard tub that had become a fall risk for an aging parent. The exhaust fan was original and barely moved air, so the mirror fogged for 20 minutes after a shower.

After: We converted the tub to a low-curb shower with a fold-down bench, grab bars, and a slide-bar handheld head. We also replaced the exhaust fan with a correctly sized unit. Finished in four days.

Book this service →
Problems we solve

Problems a Tub-to-Shower Conversion Scottsdale AZ Fixes

Most of our calls start with one of these four problems. All of them get worse with time, and all of them are cheaper to fix during a conversion than after one.

Ask a pro →
01

Hard water stains that will not scrub out

We remove the stained tub entirely and set porcelain tile with epoxy grout, which resists mineral buildup far better than cement grout. A quick squeegee after each shower keeps it looking new.

↗
02

Failing caulk lines and grout deterioration

We cut back to sound material, replace any wet drywall, and rebuild with cement backer board and waterproofing membrane. Every corner gets silicone caulk over a proper joint, not a smear over old grout.

↗
03

A tub you cannot safely step into

We build a low-curb or curbless shower pan with blocking in the walls for grab bars and an optional bench. It meets ADA-compliant bathroom remodeling specs if you want to go that far.

↗
04

Mold and mildew that keeps coming back

We size and install an exhaust fan to the room volume, vent it outside, and rebuild the shower with a waterproofing membrane that keeps water out of the wall assembly. The mildew stops coming back because the moisture source is gone.

↗
Proof you can check

Licensed, Insured, and Inspected

  • Arizona ROC Contractor License · Arizona Registrar of Contractors
  • EPA Lead-Safe Certified Firm · U.S. Environmental Protection Agency
  • ANSI A118 Tile Installation Standards · American National Standards Institute
  • TCNA Guidelines Compliance · Tile Council of North America
  • OSHA Safety Compliance · Occupational Safety and Health Administration
Good questions

Frequently Asked Questions

+18556124434 →

Typical 2026 pricing in Scottsdale runs $6,500 to $16,000 depending on tile choice, glass, and whether we move the drain. A basic acrylic-pan conversion with porcelain tile sits near the low end. Quartz accents, a bench, a niche, and frameless glass push it higher. We give you a fixed number after the walkthrough, not a range that drifts.

Most conversions take three to five working days from demo to final caulk. Day one is tear-out and rough plumbing, days two and three are waterproofing and tile, and the last day is glass and cleanup. If we find water damage under the flooring or need to reroute the drain, add one to two days. We tell you before we start.

Yes, if you never use the tub. You gain roughly 15 square feet of usable shower space, cut cleaning time, and remove the biggest fall risk in the room. It also reads as an update to buyers in 85251 and 85258. The value shows up in daily use long before it shows up at resale.

Usually yes, because the drain and shower valve change and that is a plumbing alteration under the IRC. We pull the permit through the city and meet the inspector on your behalf. Skipping it can bite you at resale when a buyer's inspector flags unpermitted plumbing. We handle the paperwork.

Ready when you are

Get Your Tub-to-Shower Conversion Scottsdale AZ Quote

One walkthrough, one fixed price, no pressure. We are licensed, insured, and we pull the permit. Call today and we will get you on the schedule, usually within the week.

Request Free Quote +18556124434 →
Request an appointment

Contact Our Scottsdale Bathroom Team

Call +1 855-612-4434 or email [email protected] and we will get back to you the same business day. We answer the phone Monday through Friday, 8:00 to 18:00, and we schedule walkthroughs across Scottsdale and Maricopa County within a few days. Bring your wish list and your budget.

Call anytime+18556124434Email the office[email protected]
Office hoursOpen 24 hours · 7 days a week
↗
Emergency?Call now